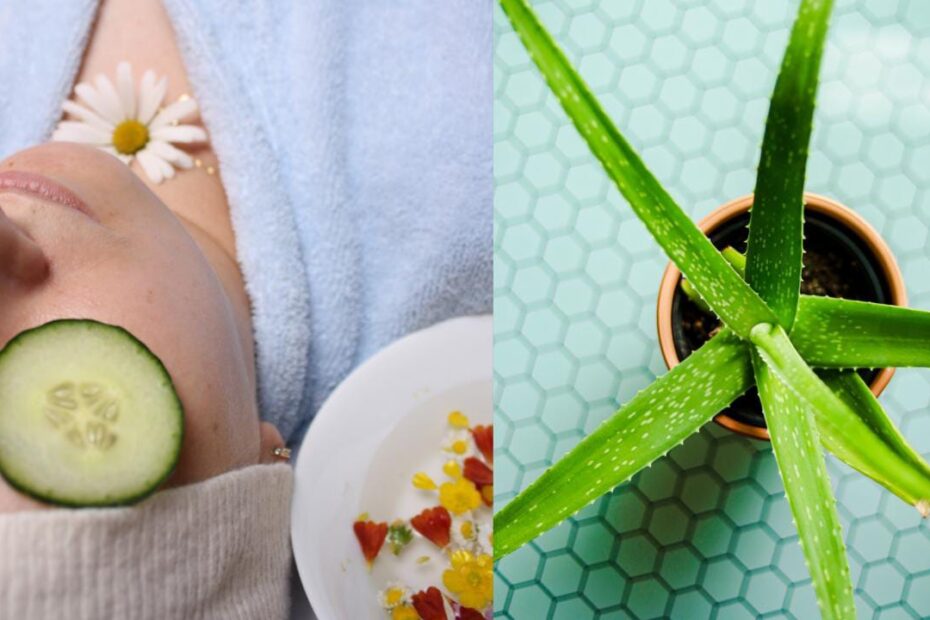
Aloe Vera is considered one of the wonders of Ayurvedic. This amazing plant has numerous advantages.
Aloe vera is the finest natural cure for a variety of skin and hair problems.
It’s an excellent natural skin moisturizer that also calms sensitive skin.
You can make a quick DIY facial at home using natural materials that will work like magic on your skin.
This simple aloe vera facial may be performed at home with only a few items.
In this article, you will get to know how you can do an aloe vera facial at home.
Let’s see it in detail…
Firstly let me say a little bit about the skin benefits of Aloe Vera.
Benefits of Aloe Vera on Skin
By boosting collagen production, aloe vera relieves sunburns and skin injuries.
Because aloe vera contains humectants (substances that pull water from the air or deeper inside the skin), it is regarded to be especially good for those with dry skin.
Aloe has two chemicals aloesin and aloin that may help remove dark spots and stretch marks:
Salicylic acid, urea nitrogen, cinnamic acid, phenols, and sulfur are all naturally occurring compounds in aloe vera that prevent the growth of fungus, bacteria, and viruses.
Aloe vera includes vitamins C and E, which may aid in the prevention of free radical production.
These free radicals are chemicals that cause cell damage.
Therefore it is also anti-inflammatory in nature
Now let us take a look at the steps to perform an aloe vera facial.
Steps to perform aloe vera facial
To perform an aloe vera facial,
Step 1: Cleanse
Cleansing is the first and foremost step of the facial.
If you are going for an aloe vera facial then firstly pluck an aloe vera stem and remove its outer skin to obtain the fresh pulp.
(Dip it in the freshwater so that the yellow-colored gel gets removed as it is said to cause skin irritation.)
- Firstly rub your entire face with an ice cube.
- Now scoop out the aloe vera gel pulp and add one tablespoon of honey and lemon juice.
- Mix these ingredients well and apply the gel all over your face.
- Massage it in a circular motion for about 5 minutes.
- Then wash off with cold water or a cotton pad.
Step 2: Scrub
Scrubbing is an important part of the facial as it has multiple benefits for the skin cells.
It exfoliates dead skin cells, removes white and blackheads, soothes the skin, and brings a glow.
For scrubbing, you can use rice flour, besan (gram flour), lemon juice, and a pinch of turmeric.
- Now mix all the ingredients well.
- Massage the homemade scrub in a circular motion.
All these ingredients in the scrub will remove tan and prevent acne.
Step 3: Facial massage
Massage is one of the important ways to make your skin healthy.
The facial massage will improve blood circulation, release toxins and make your face glow.
- Scoop out aloe vera and add a free drop of lavender and tea tree essential oil.
- Now add 2 capsules of Vitamin E.
- Mix those well.
- Massage your face and neck gently.
Step 4: Facial Pack
Application of Facial pack is one of the time taking processes of aloe vera facial.
- Take aloe vera gel in a bowl, and add sandalwood powder, rose water, and orange peel powder.
- Apply it all over the face and keep it for 15 minutes until it dries.
- Then wash it off.
Step 5: Application of serum and moisturizer
Application of serum and moisturizer is the last step of the aloe vera facial.
You can also apply aloe vera-based sunscreen (like Mamaearth Hydragel).
It energizes and rejuvenates the cells of the face.
Apply aloe vera moisturizer on your face and after that apply a facial serum(like Good Vibes Rose Hip Radiant Glow Face Serum).
This facial will give you a wonderful glow on your skin, and you won’t have to spend hundreds of dollars at the salon to obtain it.
If you’ve never used any of these components on your skin before, perform a patch test on your palm before applying it to your face.
Despite the fact that these components are natural and have no negative effects, they may react differently to various skin types.
Disclaimer: The information provided above is not meant to replace any medical advice and is for educational purposes only. P.S: The site may contain affiliate links. This means when you buy something using the link, I earn a small commission. However, the price of the item remains the same for you. By doing this, you are also supporting this website.
